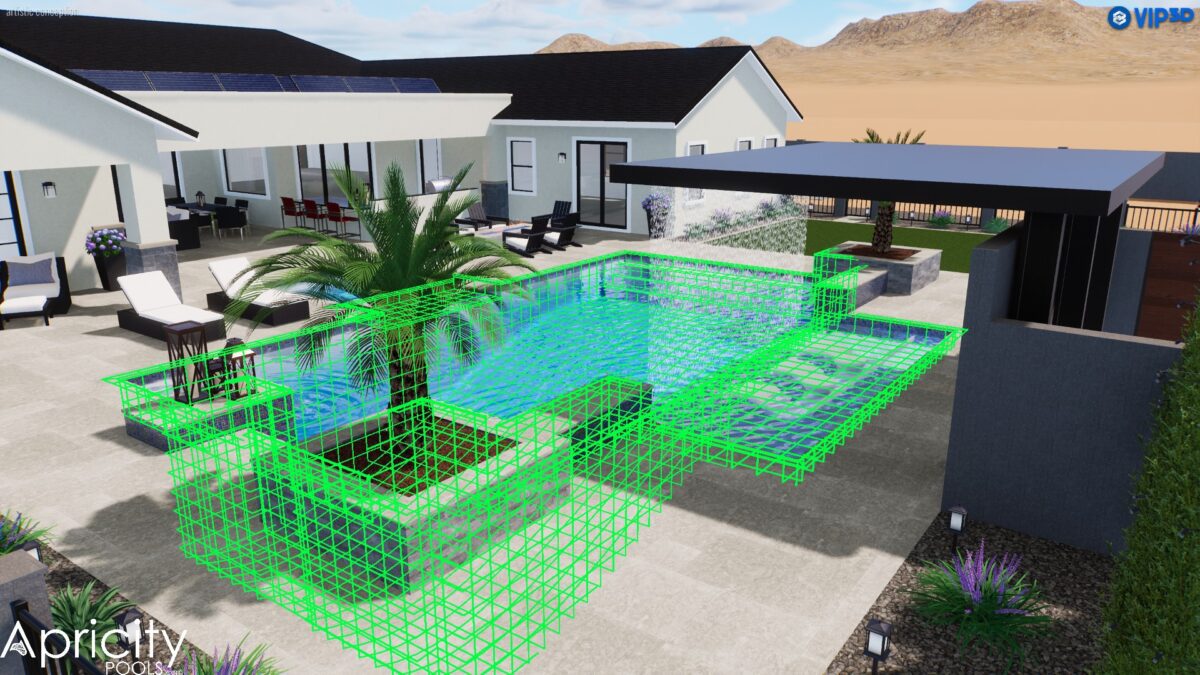
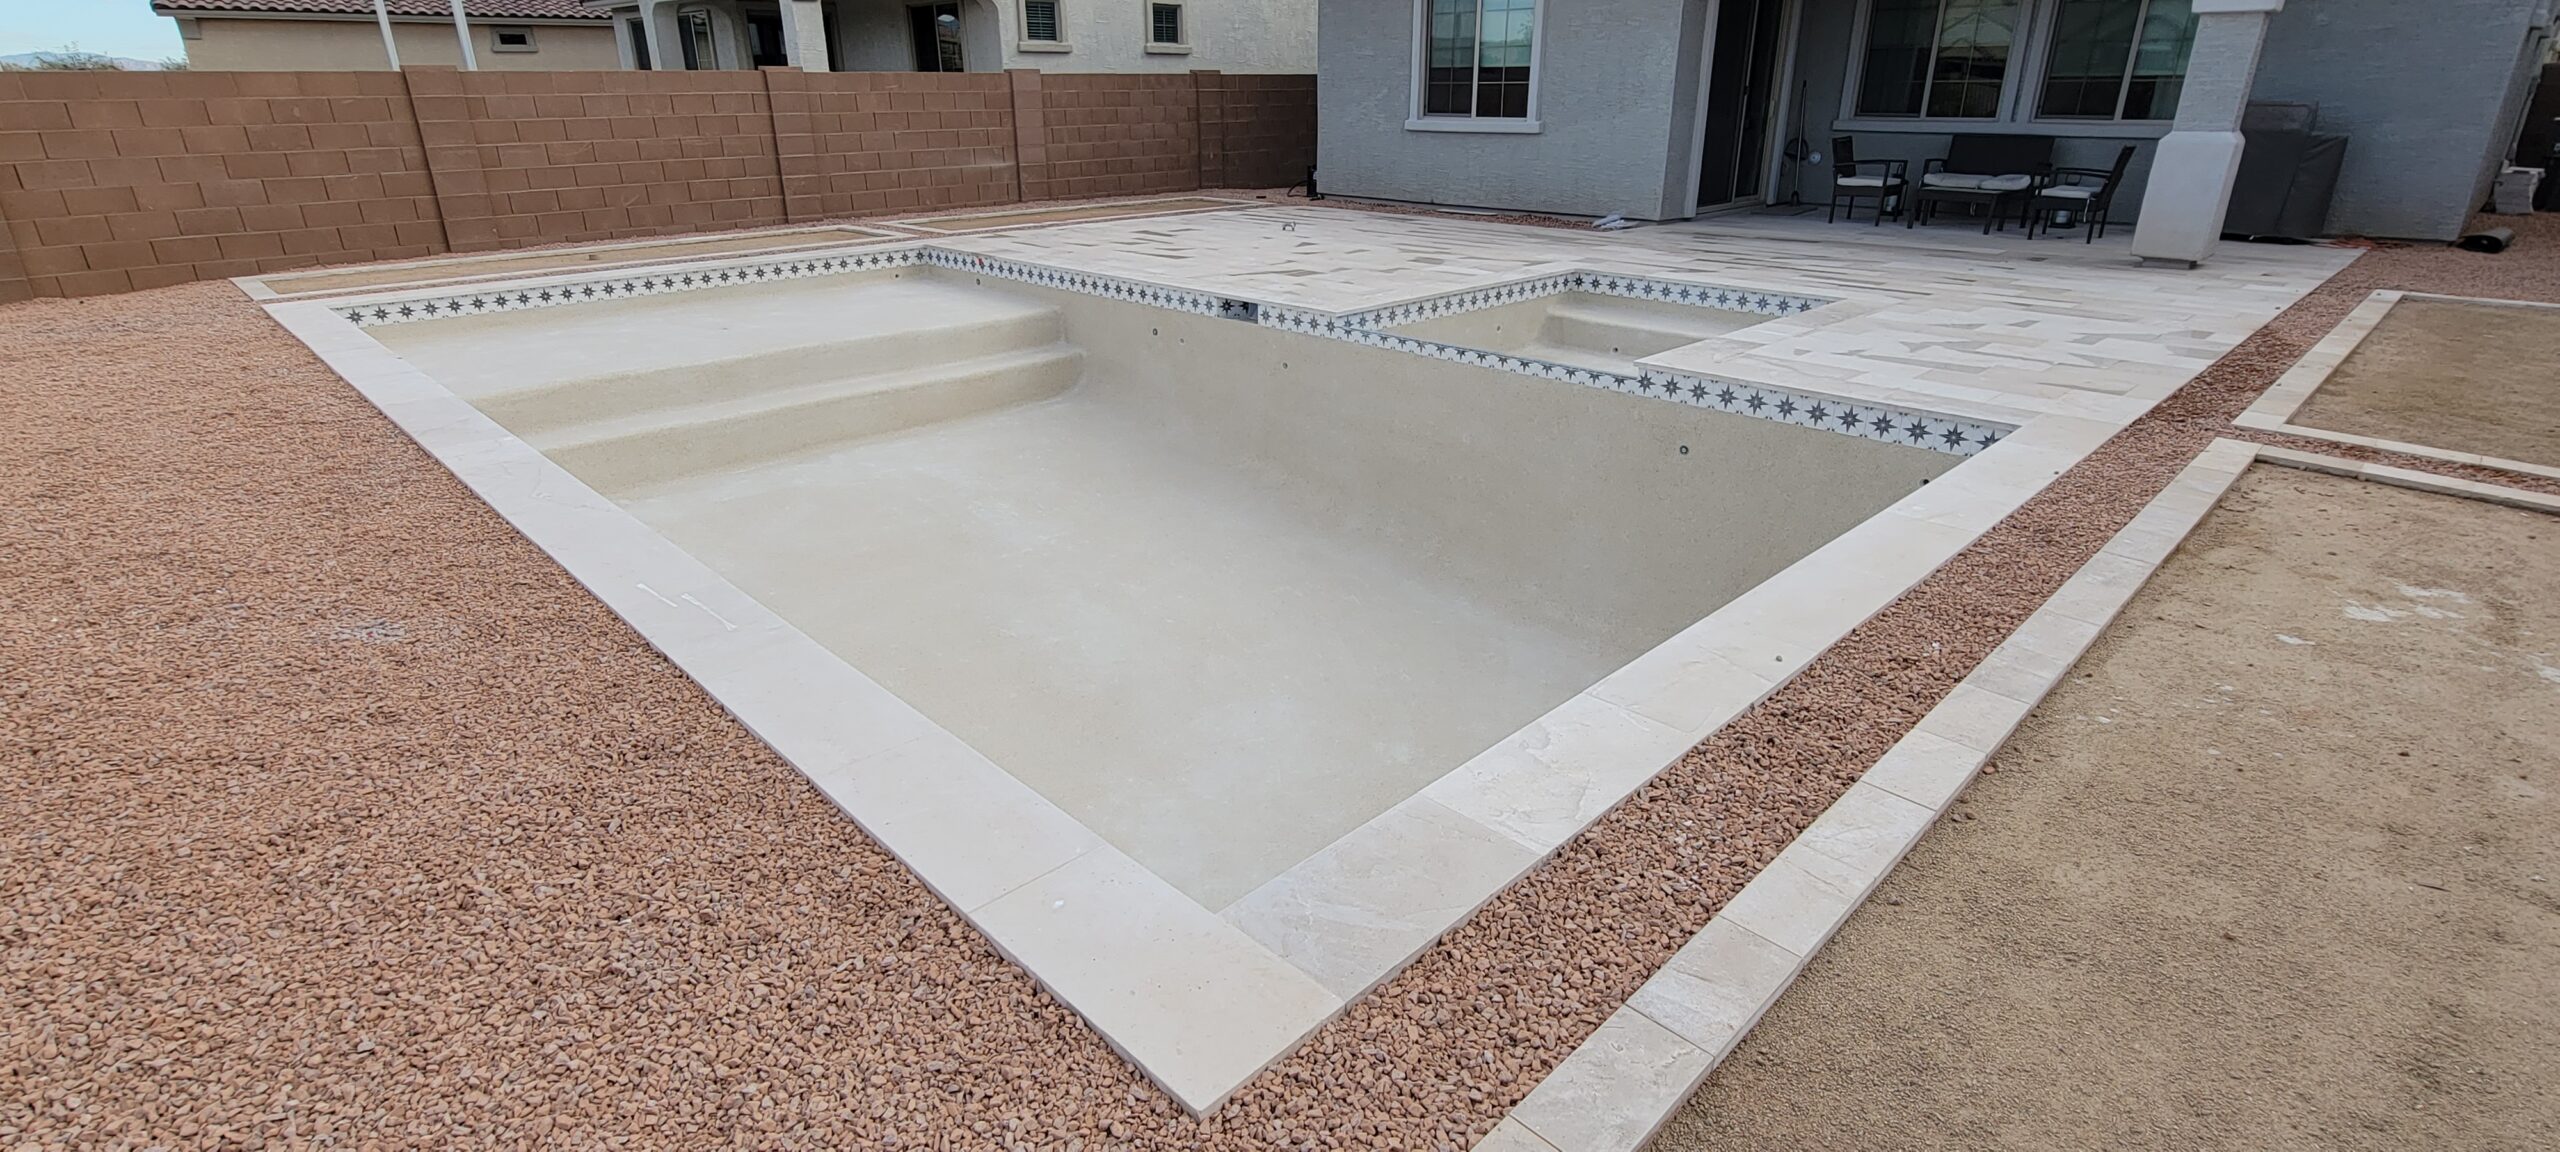
Building a pool isn’t just another home improvement project—it’s a statement, a lifestyle upgrade, and your backyard’s new centerpiece. But diving into a pool build without a clear plan is a recipe for frustration and budget blowouts. To ensure success, you need a well-thought-out pool design and an understanding of every crucial step along the way.
How to Start a Pool Build and Nail the Design
Let’s walk through the essential stages of starting your pool build, from defining your vision to post-construction maintenance, and turn your backyard dream into reality.
Step 1: Define Your Vision and Purpose
A pool is more than a luxury—it’s an extension of your lifestyle. Before you dive into construction, get crystal clear on what you want your pool to do for you.
Ask yourself:
- Is this a space for relaxation, family fun, or fitness?
- Do you envision a minimalist design or a resort-style pool with extras like waterfalls?
- What features are non-negotiable? (e.g., tanning ledge, spa, swim-up bar)
Your vision sets the foundation for your pool design and guides everything from shape to features.
Step 2: Find the Perfect Spot for Your Pool
The right location can make or break your pool experience. Here’s what to keep in mind:
- Sun exposure: You want ample sunlight to naturally warm your pool, but don’t forget to plan for shaded areas.
- Wind direction: Too much wind can lead to increased water evaporation and cooling.
- Accessibility: Position the pool close enough to your home for convenience but with enough distance to avoid splashing near doors or windows.
- Drainage: Ensure proper grading and drainage to prevent flooding or standing water issues.
Your pool build location directly impacts usability, comfort, and maintenance.
Step 3: Choose the Right Pool Design Elements
Your pool’s design isn’t just about looks—it’s about functionality, comfort, and how well it fits your lifestyle. Let’s break down the key design choices:
- Shape: Rectangular pools are perfect for modern, clean aesthetics, while freeform shapes add a more natural feel.
- Depth: Shallow ends are ideal for lounging and kids, while deeper sections work for diving and water sports.
- Pool materials: Concrete offers flexibility for customization, fiberglass is low maintenance, and vinyl is budget-friendly.
- Water features: Enhance the vibe with waterfalls, bubblers, or infinity edges.
Collaborate with your contractor to create a pool design tailored to your needs.
Step 4: Secure Permits and Handle Zoning Requirements
Permits are a legal necessity, and ignoring this step could lead to costly delays or fines. Most municipalities require permits for excavation, electrical work, and plumbing. Common requirements include:
- Building permits for excavation and construction
- Electrical permits for pool lighting, pumps, and heaters
- Zoning approvals to ensure proper distance from property lines and structures
Working with a knowledgeable contractor ensures all permits are handled correctly and on time.
Step 5: Excavation and Preparing the Site
Once permits are in place, the real work begins with excavation. Precision is key—any errors here can lead to costly issues down the line.
During this phase, the construction team will:
- Outline the pool’s dimensions using stakes and markers
- Excavate the soil according to the approved design and depth
- Remove debris and prepare the ground for installation
Pro tip: Stay on-site during excavation to catch any discrepancies early.
Step 6: Plumbing and Electrical Installation
These behind-the-scenes elements are essential for your pool’s functionality. The plumbing system ensures clean, filtered water, while the electrical system powers pumps, heaters, and lighting.
What to expect:
- Plumbing setup: Installation of water lines, drains, and filtration systems
- Electrical work: Wiring for pool lights, pumps, and control systems
Make sure licensed professionals handle this phase to avoid future maintenance headaches.
Step 7: Pool Shell Installation
This step involves creating the physical structure of your pool. The method will depend on your material choice:
- Concrete pools: Poured on-site, offering maximum customization.
- Fiberglass pools: Pre-built and lowered into the excavation site.
- Vinyl pools: Installed using a flexible liner that fits over a pre-built frame.
Inspect the pool shell thoroughly for any cracks or issues before moving on.
Step 8: Finishing Touches and Decking
With the pool shell in place, it’s time to focus on the details that elevate your pool build from basic to breathtaking.
- Tile and coping: Add decorative tiles around the pool’s edge for a polished finish.
- Decking: Options like travertine, stamped concrete, or wood decking create a seamless outdoor living space.
- Lighting: Install underwater LEDs or accent lights to set the mood for evening swims.
This phase is all about personalization—your pool should reflect your taste and lifestyle.
Step 9: Fill and Test the Pool
Before you jump in, your contractor will need to fill the pool and run several tests to ensure everything is functioning correctly.
Tests include:
- Checking for leaks in the plumbing system
- Verifying proper water circulation and filtration
- Balancing the water’s pH and chemical levels
Don’t skip the final walkthrough—it’s your chance to address any concerns before the project is officially complete.
Step 10: Post-Construction Maintenance and Upgrades
Your pool may be complete, but maintenance is crucial to keeping it in pristine condition. Here’s what you should do:
- Weekly maintenance: Skim debris, test chemical levels, and clean filters.
- Seasonal tasks: Inspect equipment, clean the pool deck, and check for leaks.
- Upgrades: Consider adding features like pool covers, automation systems, or energy-efficient pumps over time.
Ready to Shock the Neighborhood? Let’s Build a Pool They’ll Obsess Over!
Whether you’re envisioning sleek luxury or an epic party paradise, we’re here to deliver. Contact us now, and let’s bring your boldest pool design ideas to life.


